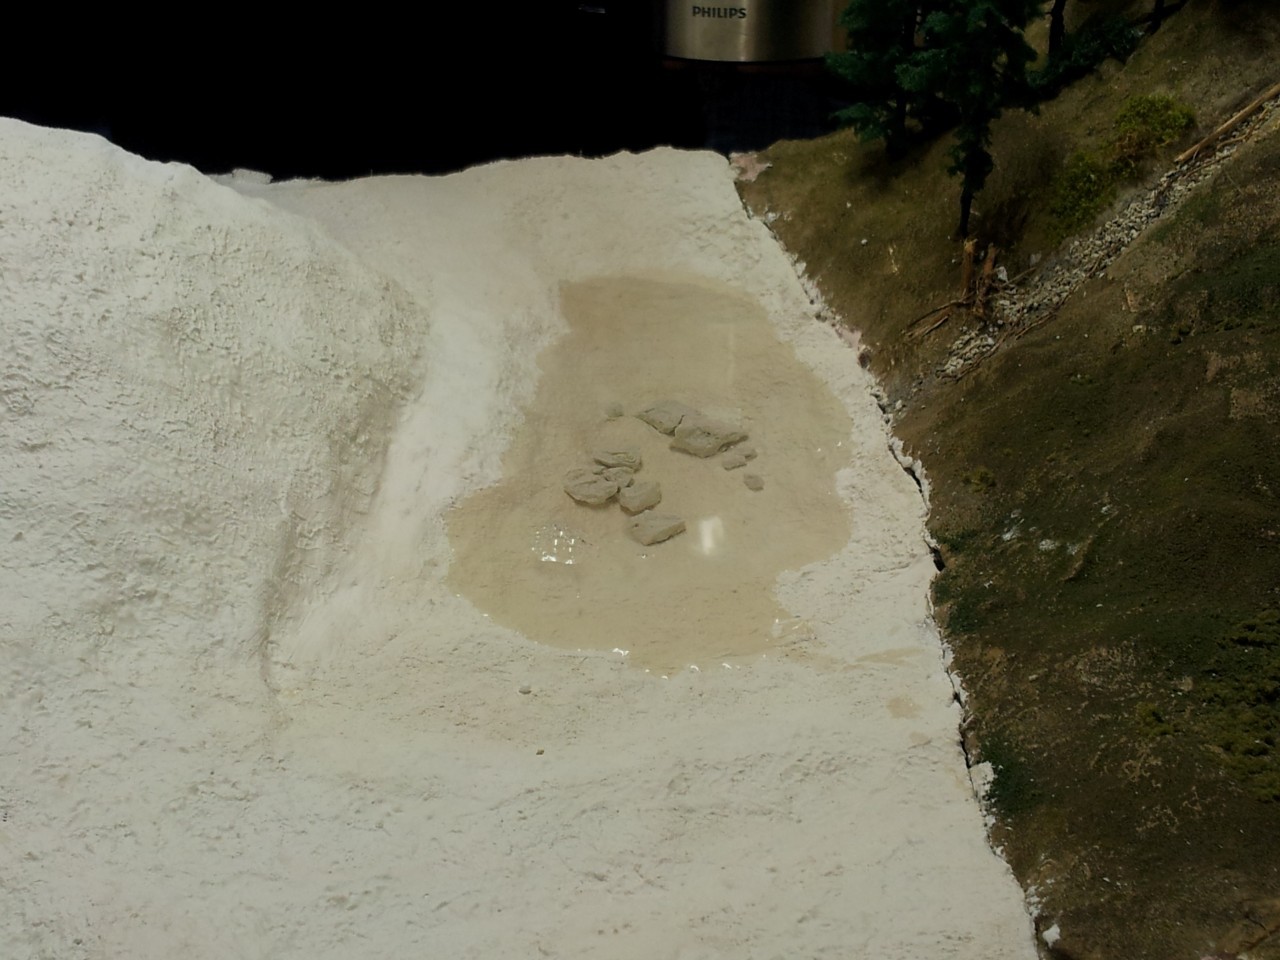
Little lake, the Base form filled with real water
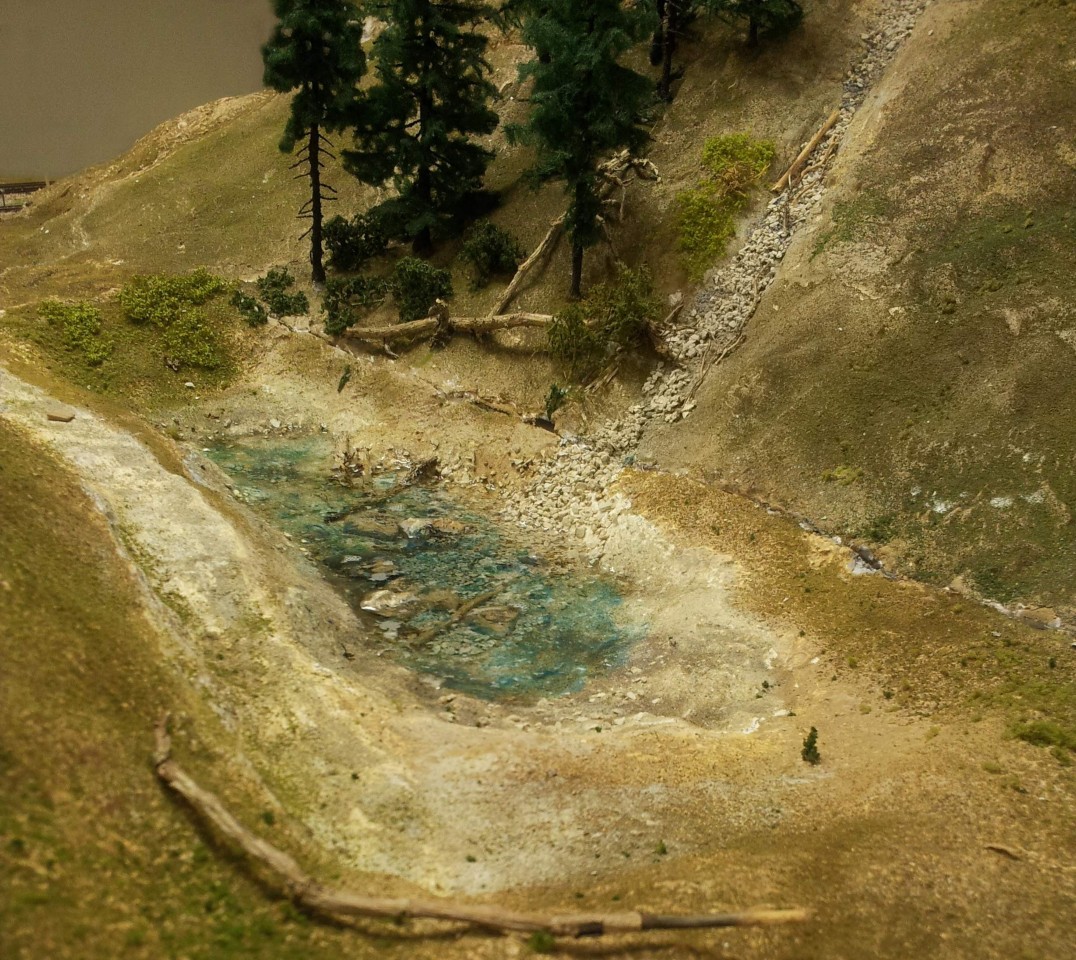
Little lake, colored but still empty
|
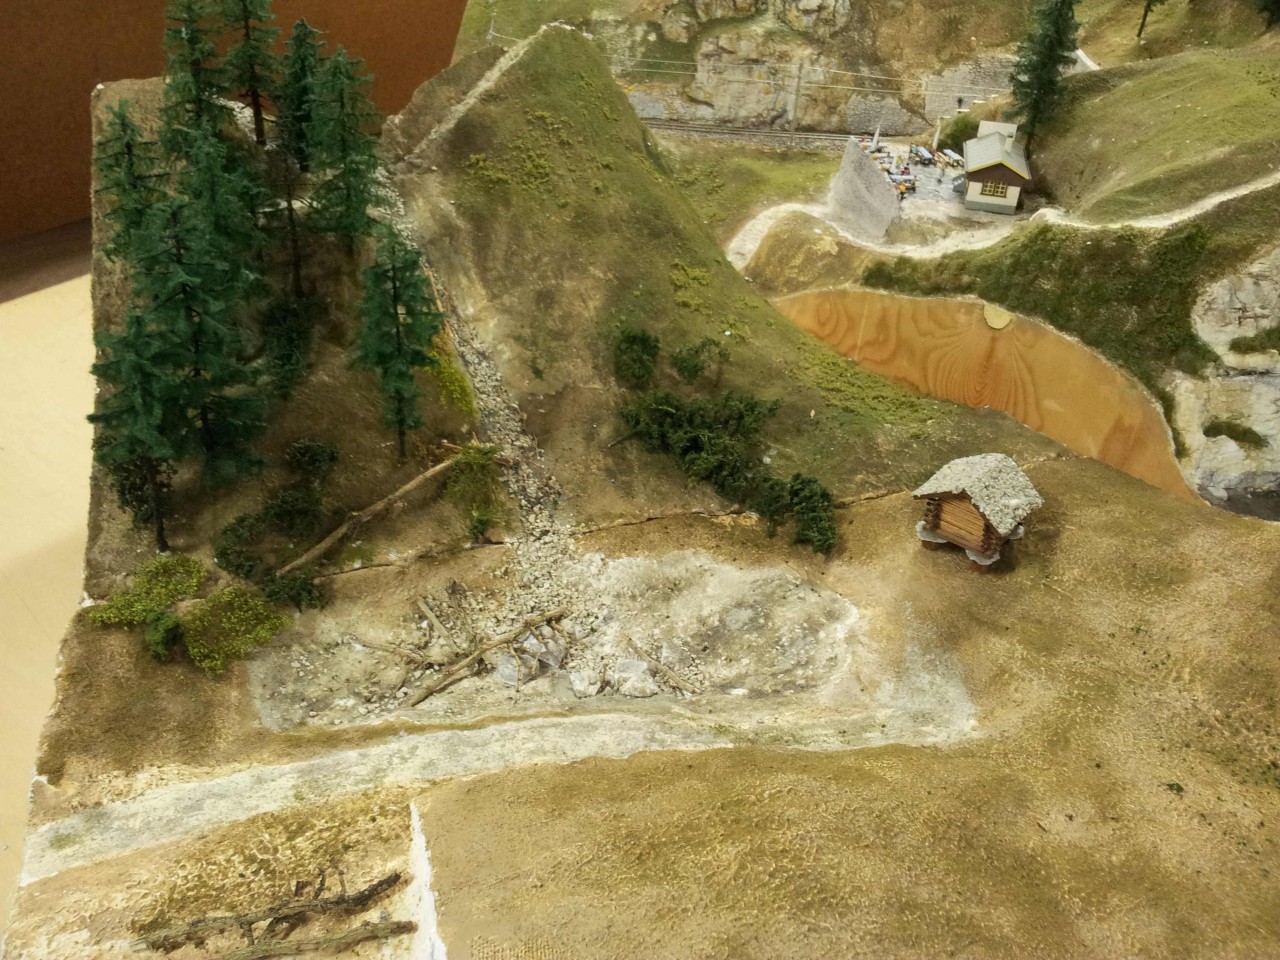
A mountain lake, home made |
|
A mountain lake along the Bernina line The Bernina Railway of region middle Netherlands had a creek and two waterfalls. Recently also a small lake (30 x 15 cm) was created. This has been made as follows. The bottom and banks First, the bottom and the banks of the lake are modeled. The base is hollowed Styrofoam with plaster and on top a thin layer of plaster. Here we have poured up real water to the desired depth and then the shoreline is marked with a pencil. This way you know exactly how deep to cast the resin to simulate water. That marks a "natural water level". The shoreline also helps in proper modeling of transition from the bottom of the lake to the vegetation above the waterline. About the white gypsum landscape we attached stones, rocks, sand, and fallen trees that were glued with acrylic medium-matt. The soil is treated with diluted paint, which has also been used for coloring the rock formations on the rest of the Bernina layout. At the lowest point dark color (dark gray) is applied and increasingly brighter colors (For example, blue-greenish and light brownish sludge) rising towards the flat side or shallow places. This gradient brings depth |
|
|
|
|
|
Little lake, the Base form filled with real water |
Little lake, colored but still empty |
|
Casting of epoxy resin
I opted for a slow curing two component because it creates little heat, has no toxic / irritating vapors,
you can still modify it after casting in the still liquid resin. It is recommended that Epoxy is
applied no thicker
than 1 cm to pour. Since I wanted to have a depth of 2 cm, I had to pour a second layer over the first layer the week after.
That will be completely invisible. The 2 cm was necessary to put boulders and tree trunks underwater and in order to
create depth. The resin is clear and boulders, stones, tree trunks are clearly visible.
This must be like that, because in a real lake, the water is crystal clear and you can easily see the ground as
long as it is not a 20 feet deep. |
|
|
|
Little lake, with first layer of epoxy resin |
|
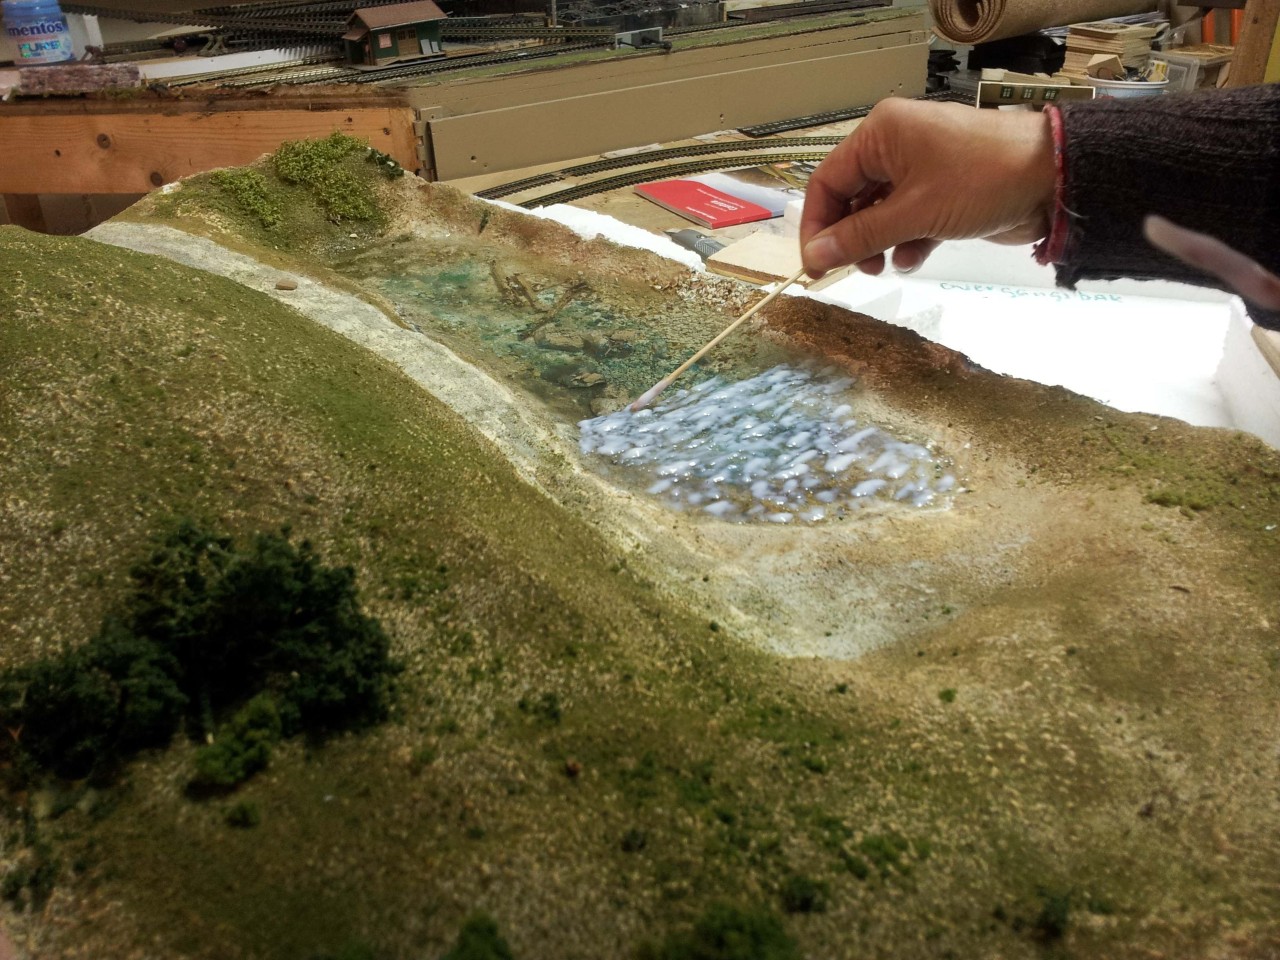
Modeling small waves The epoxy resin results in a real mirror-like surface. Completely smooth water hardly occurs in nature so also not in our model. Small waves we make with shiny acrylic binder (a medium that was mixed with acrylic paint so that we get cozy thick paste for Modeling). We use a sate stick (See Picture). The acrylic binder looks white but dries completely transparent. First the waves are made and then the space between the waves is smoothed also with a bit of acrylic binder so that the surface is entirely covered with a irregular layer acrylic binder. |
|
|
|
Applying waves on the epoxy resin |
|
Transparent Water, Reflection of blue air and flair
If you are looking at mountain lakes you see reflections of blue sky and silhouettes of trees.
In order to obtain the blue-green effect a diluted blue and green blue color layer is applied
on some parts of the bottom before the resin was poured out. The blue color was Talens Acrylic
brilliant blue mixed with Talens white acrylic. The greenish-blue color is acrylic Talens chromium
oxide mixed with brilliant blue. After one week of curing the varnish, the resin was poured.
After the resin was fully cured (after one week), and after the waves on the resin had been produced,
several layers of acrylic paint are applied in three versions: |
|
|
|
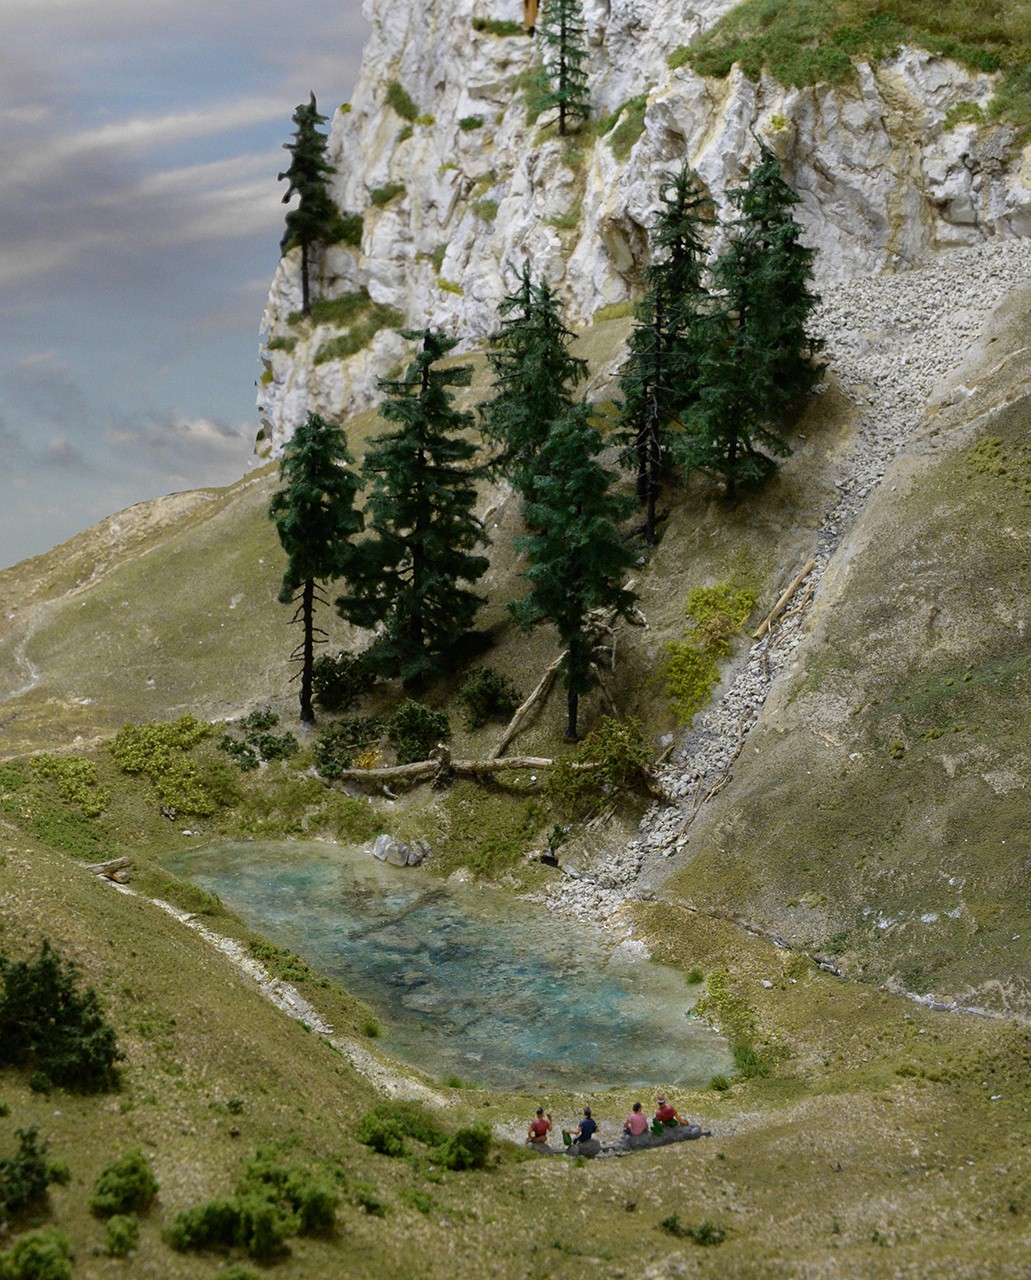
The little lake is ready |
|
Materials
|
Original Text Han van Knippenberg; pictures Hans Hosang and Lies Vogelaar
Translated with the use of Google Translate.